Getting started with the PayPal POS integration for WooCommerce
This article describes how to get started with our PayPal POS integration for WooCommerce
Connecting the plugin to PayPal POS
When you first get started with the PayPal POS integration for WooCommerce plugin the first thing you need to do is to connect it to your PayPal POS account. All you need to do to accomplish this is to:
- Go to WooCommerce -> Settings -> PayPal POS Integration
- Enter the email you want associate with your integration – preferably your work email. Don’t forget to save the settings after the email has been entered
- Click the Authorize button and go through the steps in the Authorization process.
- You’re done – congratulations!
Choosing the master system
Next you’ll have to decide how you want the integration to be setup. First you’ll need to decide where you want to host the ”master data”. Typically this is the system you create products in, update prices, add images etc. This could either be WooCommerce or PayPal POS. While the plugin is capable of syncing most of the data in both directions at the same time, we always advice that you choose to have one system as the master as this will be much easier to maintain long term.
Once you’ve chosen the master system, you need to make sure that the non-master system has a clean product library. For example, if you’ve chosen WooCommerce as the master system you should clear out all products in PayPal POS so you start with a clean product library. And vice versa if PayPal POS is the master system. The reasoning behind this is that when the inital sync between the two systems is made, the integration will create new products in the non-master system based on the products present in the master system. If the product library is not empty in the non-master system, you therefore risk ending up with a lot of duplicates that you need to clear out later on. Before you clear out the data in the non-master system please make sure that all product data that you want to keep and use in the future is present in the master system.
Special note for PayPal Zettle POS for WooCommerce plugin
If you’ve previously used the PayPal Zettle POS for WooCommerce plugin to sync your product inventory from WooCommerce to PayPal POS you don’t have to clear the PayPal POS library for the PayPal POS Integration to work. You can simply follow the instructions in Setup 1 – Syncing to PayPal POS to connect your WooCommerce products to PayPal POS.
NOTE – You need to deactivate and delete the PayPal Zettle POS for WooCommerce plugin before using the PayPal POS Integration for WooCommerce plugin. If both plugins are installed at the same time it can cause strange issues to occur.
Setting up the sync
Now we can proceed to setup how the syncing process should be done. We always advice that you set up the sync in one direction first (i.e WooCommerce -> PayPal POS) and testing out that the sync works flawlessly in that direction first before setting up syncing in both directions.
An important note before you go ahead with the sync
Always remember to backup your WooCommerce store when installing and setting up new plugins.
Setup 1 – WooCommerce is the master
Syncing to PayPal POS
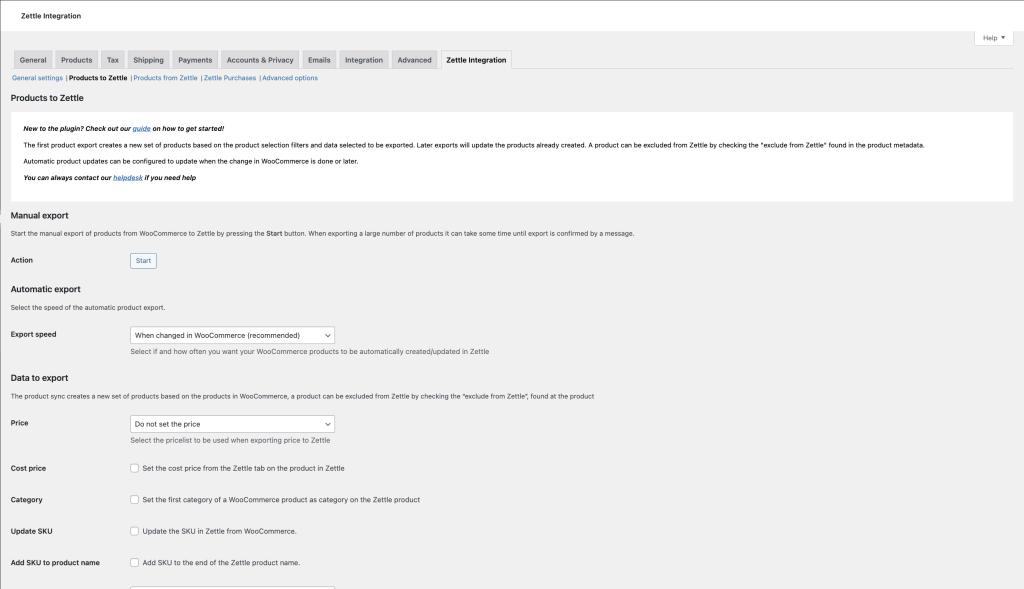
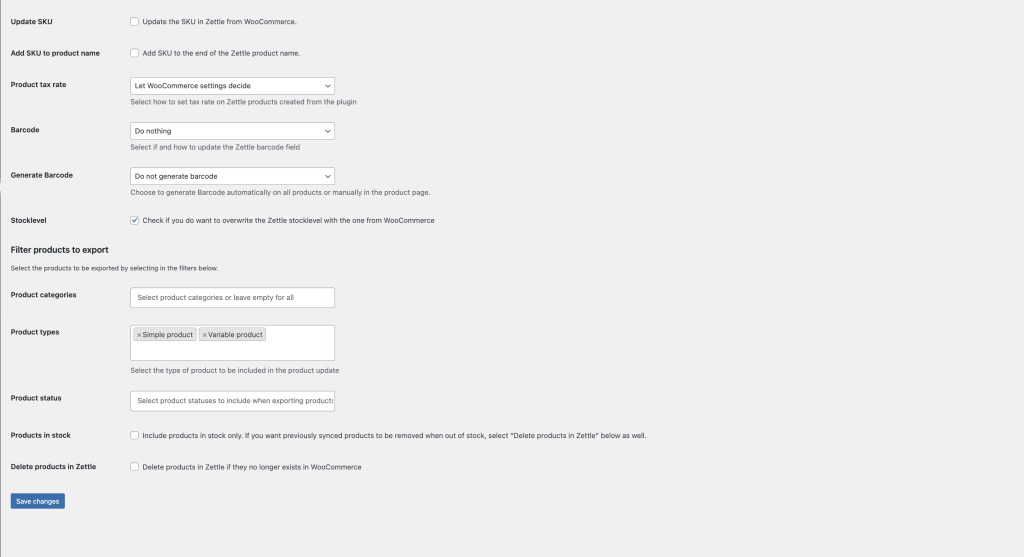
- Go to the Products to PayPal POS section and start to select which product information you want to sync from WooCommerce to PayPal POS.
- Once the settings look good – press the Start button located at the top portion of the Products to PayPal POS section.
- Now the syncing process is started. Please note that is initial syncing can take some time – especially if you have a lot of products in your WooCommerce store
- When the sync is done validate in PayPal POS if the products have been imported correctly. If not, clear the product library in PayPal POS, adjust the settings in Products to PayPal POS and click the start button again.
- If everything looks good in PayPal POS, please change the setting Export speed to When changed in WooCommerce to enable the automatic syncing of products to PayPal POS.
Example settings – Syncing to PayPal POS


Syncing from PayPal POS
Typically the only data you want to sync from PayPal POS is the stock level of the product. This can be achieved in two ways with our plugin. The stocklevel can either be changed directly on the product (when a purchase is made in PayPal POS for example) or you can choose to have the plugin create a WooCommerce order whenever a purchase is made in PayPal POS which indirectly changes the stocklevel of the product in WooCommerce (exactly the same thing that would happen if a WooCommerce order was placed in the product).
Alternative 1 – Changing the WooCommerce product stocklevel directly
- Go to the Products from PayPal POS section
- Change the Automatic action option to Update products in WooCommerce
- Enable the Stocklevel option
- Make sure that the other options under Products from PayPal POS are blank
- Save the settings
- Change the stocklevel of a product in PayPal POS, either directly or through a purchase
- Validate that the stocklevel on the corresponding product in WooCommerce changes
- If everything looks good – congratulations! You’re now up and running with the PayPal POS integration!
Example settings – Syncing from PayPal POS – Changing the WooCommerce product stocklevel directly


Alternative 2 – Creating WooCommerce orders from PayPal POS purchases
- Go to the PayPal POS purchases settings section in the plugin
- Enable the setting Enable purchase processing and save the settings
- Set the Automatic Download to When created in PayPal POS
- Set the Download action option to Create a WooCommerce order based on the purchase
- Save the settings
- Make a test purchase in PayPal POS and validate that the order is created in WooCommerce
- If everything looks good – congratulations! You’re now up and running with the PayPal POS integration!
Example settings – Syncing from PayPal POS – Creating WooCommerce orders from PayPal POS purchases

Setup 2 – PayPal POS is the master
Syncing from PayPal POS
- Go to the Products from PayPal POS section and start to select which product information you want to sync from PayPal POS to WooCommerce
- Once the settings look good – press the Start button located at the top portion of the Products from PayPal POS section.
- Now the syncing process is started. Please note that is initial syncing can take some time – especially if you have a lot of products in your PayPal POS store
- When the sync is done validate in WooCommerce if the products have been imported correctly. If not, clear the product library in WooCommerce, adjust the settings in Products from PayPal POS and click the Start button again.
- If everything looks good in WooCommerce, please change the setting Automatic action to what you want to happen in WooCommerce whenever a change happens in PayPal POS. If you want PayPal POS to have full control over WooCommerce please choose Create, update and delete products in WooCommerce for the best results. This will enable the automatic syncing of products to WooCommerce.
Example settings – Syncing from PayPal POS


Syncing to PayPal POS
- Go to the Product to PayPal POS section in the plugin
- Change the Export speed option to When changed in WooCommerce
- Enable the Stocklevel option
- Save the settings
- Change the stocklevel on one of the products in WooCommerce temporarily.
- Validate that the stocklevel on the corresponding product in PayPal POS changes
- If everything looks good – congratulations! You’re now up and running with the PayPal POS integration!
Example settings – Syncing to PayPal POS
Final notes
Now that you’re up and running with the PayPal POS integration data should pass effortlessly between both systems. However, if you happen to require a more advanced setup, encounter any issues along the way or have any other questions that aren’t answered in our knowledge base then feel free to reach out to us at [email protected].